Keeping your Victron products on the latest firmware is one of the simplest ways to improve reliability, gain new features, and ensure compatibility between devices. Victron actively develops firmware for their products — sometimes releasing updates that add genuinely useful functionality months or years after purchase. This guide covers how to update every type of Victron product, what tools you need, and what to do if something goes wrong.
Why Firmware Updates Matter
Victron firmware updates are not just bug fixes. They regularly add substantial new features. Past updates have introduced:
- New battery compatibility profiles — support for third-party lithium batteries via CAN-bus
- ESS improvements — better grid-tie functionality and dynamic pricing support
- Bluetooth connectivity enhancements — improved range and stability for VictronConnect
- Safety fixes — corrected charging algorithms that could affect battery health
- VRM integration upgrades — new data points and remote control capabilities
Running outdated firmware can also cause compatibility issues. If your Cerbo GX is on a new firmware but your MultiPlus is on an old version, some features may not work correctly. Victron publishes minimum firmware requirements in their documentation when device-to-device communication is involved.
Checking Your Current Firmware Version
Via VictronConnect
Open VictronConnect on your phone, tablet, or computer. Connect to the device via Bluetooth or USB. Tap the device, then go to Settings (gear icon) > Product Info. The firmware version is displayed as a number (e.g., v3.12 or v502). VictronConnect will also show a notification if a newer firmware is available.
Via GX Device (Cerbo GX, Ekrano, etc.)
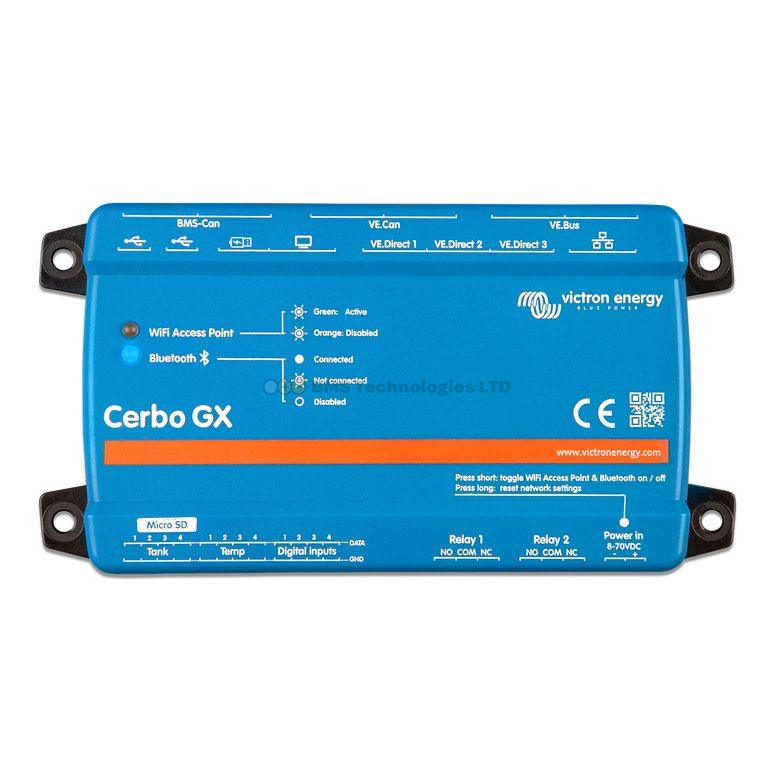
On the GX device, navigate to Device List and select the product you want to check. The firmware version is shown in the product's information screen. Alternatively, log into VRM and check the device list — firmware versions are shown alongside each connected product.
Via VRM Portal
Log into vrm.victronenergy.com. Navigate to your installation, then go to Device List. Each connected device shows its current firmware version. VRM also flags outdated firmware with a notification.
Update Methods by Product Type
1. VictronConnect (Bluetooth) — MPPT, SmartShunt, Phoenix Inverters, Chargers
This is the simplest and most common method. It works for any product with built-in Bluetooth or a VE.Direct Bluetooth Smart dongle.
- Ensure your phone or tablet is running the latest version of VictronConnect — the app itself needs updating before it can offer new device firmware
- Open VictronConnect and connect to the device via Bluetooth
- If an update is available, a yellow banner appears at the top of the screen saying "Firmware update available"
- Tap the banner, review the changelog, and tap Update
- Wait for the update to complete — do not close the app, move out of Bluetooth range, or power off the device during the update
- The device will restart automatically once the update finishes
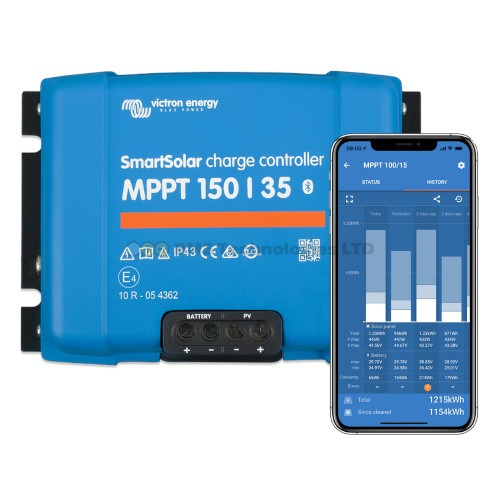
Products updated this way: SmartSolar MPPT (all), BlueSolar MPPT (with Bluetooth dongle), SmartShunt, BMV-712 Smart, Phoenix Smart Inverter, Blue Smart IP65/IP22 Charger, Orion Smart DC-DC charger, Smart Battery Sense.
2. VictronConnect via USB — MPPT, SmartShunt (without Bluetooth)
If the product does not have Bluetooth, connect it to a computer via a VE.Direct to USB adapter. Open VictronConnect on the computer (Windows, macOS, or Linux). The update process is the same as Bluetooth — VictronConnect detects the device and offers firmware updates.
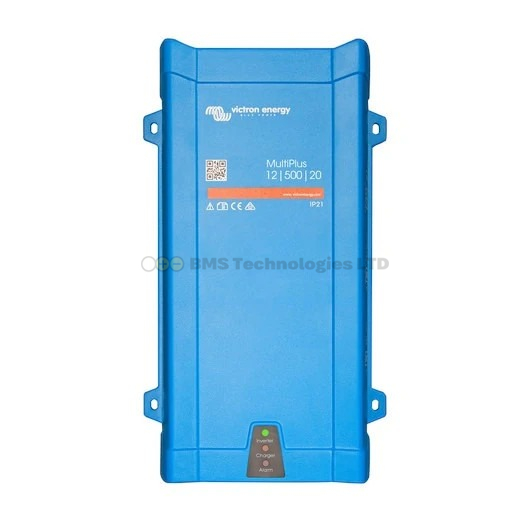
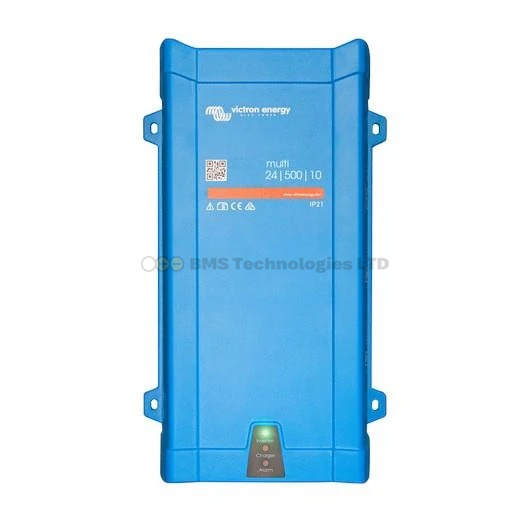
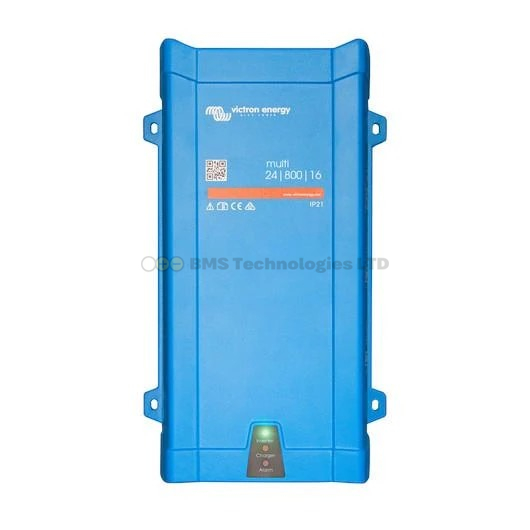
3. MK3-USB — MultiPlus, MultiPlus-II, Quattro, Quattro-II
VE.Bus products (inverter/chargers) cannot be updated via Bluetooth. They require either:
- MK3-USB adapter — connects the MultiPlus/Quattro's RJ45 VE.Bus port to your computer's USB port
- GX device with internet — allows remote firmware updates via VRM (see below)
To update via MK3-USB:
- Connect the MK3-USB between the MultiPlus/Quattro and your computer
- Open VictronConnect on the computer
- VictronConnect detects the VE.Bus device and shows its current firmware
- If an update is available, follow the prompts to install it
- Do not disconnect during the update — VE.Bus firmware updates take several minutes and interrupting them can leave the device in an unresponsive state
The MK3-USB adapter costs around GBP 50-70 from UK Victron dealers. If you have a MultiPlus or Quattro, it is a worthwhile investment — you also need it for initial configuration if you do not have a GX device.
4. Remote Update via VRM — GX Device and Connected Products
If your system includes a Cerbo GX (or other GX device) with an internet connection, you can update most products remotely:
- Log into vrm.victronenergy.com
- Navigate to your installation
- Go to Device List
- If updates are available, you will see an Update button next to the relevant device
- Click Update and confirm
- The GX device downloads the firmware and pushes it to the connected product
This method works for VE.Bus products (MultiPlus, Quattro), VE.Can products (Lynx Smart BMS, larger MPPTs), and the GX device itself. VE.Direct products connected to the GX cannot be updated this way — they still need VictronConnect via Bluetooth or USB.
5. GX Device Self-Update
The Cerbo GX and other GX devices update their own firmware (Venus OS) independently:
- Auto-update — by default, GX devices check for and install updates automatically. You can control this in Settings > Firmware > Online updates
- Manual update — go to Settings > Firmware > Online updates > Check to force a check, then Update to install
- Offline update — download the Venus OS image to a USB stick from Victron's website, insert it into the GX device, and follow the on-screen prompts. Useful when the GX has no internet connection
Update Method Quick Reference
| Product | VictronConnect (Bluetooth) | VictronConnect (USB) | MK3-USB | VRM Remote |
|---|---|---|---|---|
| SmartSolar MPPT (small) | Yes | Yes (VE.Direct-USB) | No | No |
| SmartSolar MPPT (large, VE.Can) | Yes | Yes | No | Yes (via VE.Can) |
| SmartShunt / BMV-712 | Yes | Yes (VE.Direct-USB) | No | No |
| MultiPlus / MultiPlus-II | No | No | Yes | Yes (via GX) |
| Quattro / Quattro-II | No | No | Yes | Yes (via GX) |
| Phoenix Smart Inverter | Yes | Yes (VE.Direct-USB) | No | No |
| Blue Smart Charger | Yes | No | No | No |
| Cerbo GX / Ekrano GX | No | No | No | Yes (self-update) |
| Lynx Smart BMS | No | No | No | Yes (via VE.Can) |
Auto-Update vs Manual Update
GX Device Auto-Updates
By default, Cerbo GX and other GX devices auto-update their Venus OS firmware. This is generally safe and recommended, as Victron tests updates thoroughly before release. However, some users prefer manual updates for critical systems (such as off-grid homes relying entirely on solar power) where any unexpected behaviour after an update could be problematic.
To disable auto-updates: Settings > Firmware > Online updates > Auto update — set to "Check only" or "Disabled".
Other Products
Products other than GX devices do not auto-update. You must actively initiate updates via VictronConnect, MK3-USB, or VRM. There is no "push notification" on your phone when new firmware is available — you need to open VictronConnect and connect to the device to see if an update exists.
What to Do If an Update Fails
VictronConnect Bluetooth Update Fails
- Stay close — Bluetooth range issues are the most common cause of failed updates. Stay within 2-3 metres of the device
- Retry — VictronConnect usually offers a retry option. The device may restart in "bootloader mode" and VictronConnect will detect it and resume the update
- Power cycle — if the device appears stuck, power it off and back on. VictronConnect should detect it in bootloader mode on the next connection attempt
VE.Bus (MultiPlus/Quattro) Update Fails
This is more serious because VE.Bus firmware updates are more complex. If interrupted:
- The device may enter bootloader mode — the LEDs will flash in a specific pattern. It will not function as an inverter/charger until the update is completed
- Reconnect the MK3-USB and retry the update in VictronConnect
- If VictronConnect cannot detect the device, try VEFlash (Victron's standalone firmware update tool, downloadable from their website) — it offers more recovery options
- As a last resort, contact Victron support or your dealer. Devices stuck in bootloader mode are almost always recoverable
GX Device Update Fails
- USB recovery — download the Venus OS image to a USB stick and perform an offline update. This overwrites the existing firmware completely and is the standard recovery method
- The GX device will not be bricked by a failed update — the bootloader always remains functional
Best Practices for Firmware Updates
- Update VictronConnect first — always ensure the app itself is on the latest version before attempting device updates
- Read the changelog — Victron publishes release notes for every firmware version. Check if the update addresses something relevant to your system
- Update during the day — for solar systems, update when the batteries are well charged and solar is producing. You do not want to lose your inverter mid-update at midnight
- Update all devices — when updating one product, check if others also have updates available. Keeping all devices on current firmware avoids compatibility issues
- Do not force-update working systems unnecessarily — if your system is running perfectly and the update changelog only mentions features you do not need, there is no harm in waiting
- Back up your settings — VictronConnect can save device settings before an update. This is rarely needed (settings usually survive updates), but it is good practice for VE.Bus products
For more on the communication protocols used for updates, see our VE.Direct, VE.Can, and VE.Bus guide. To understand the MK3-USB and other accessories mentioned here, read our accessories guide. And for navigating the VRM interface where remote updates are managed, check our VRM dashboard guide.